Hacking the Quansheng UV-K5 (kinda)

A quick disclaimer
Before we begin, it's important to understand the risks involved here. While I've had good success with this process, there's always a chance something will go wrong.
Suffice to say, I am not responsible if your radio bricks ¯\_(ツ)_/¯
🎶Lets start at the very beginning. A very good place to start🎶
During my last trip to DEFCON, I took part in a CTF for the Lonely Hackers Club and accidentally won. While chatting with the event runners, I'd mentioned I had purposefully avoided playing because I essentially wanted to give other folks a shot. Much to my surprise, they encouraged me to see how far I could get in the few remaining hours. By the time things wrapped up, I rocketed to the top of the leader board and was even able to help some other players having trouble.
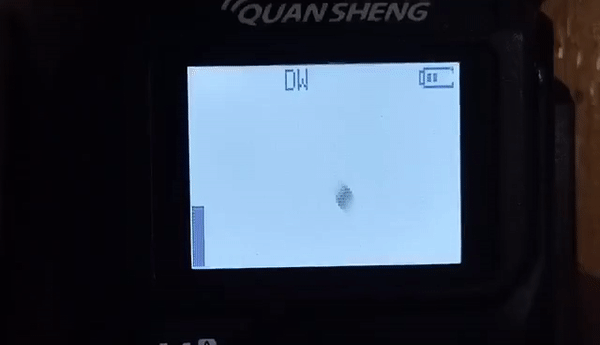
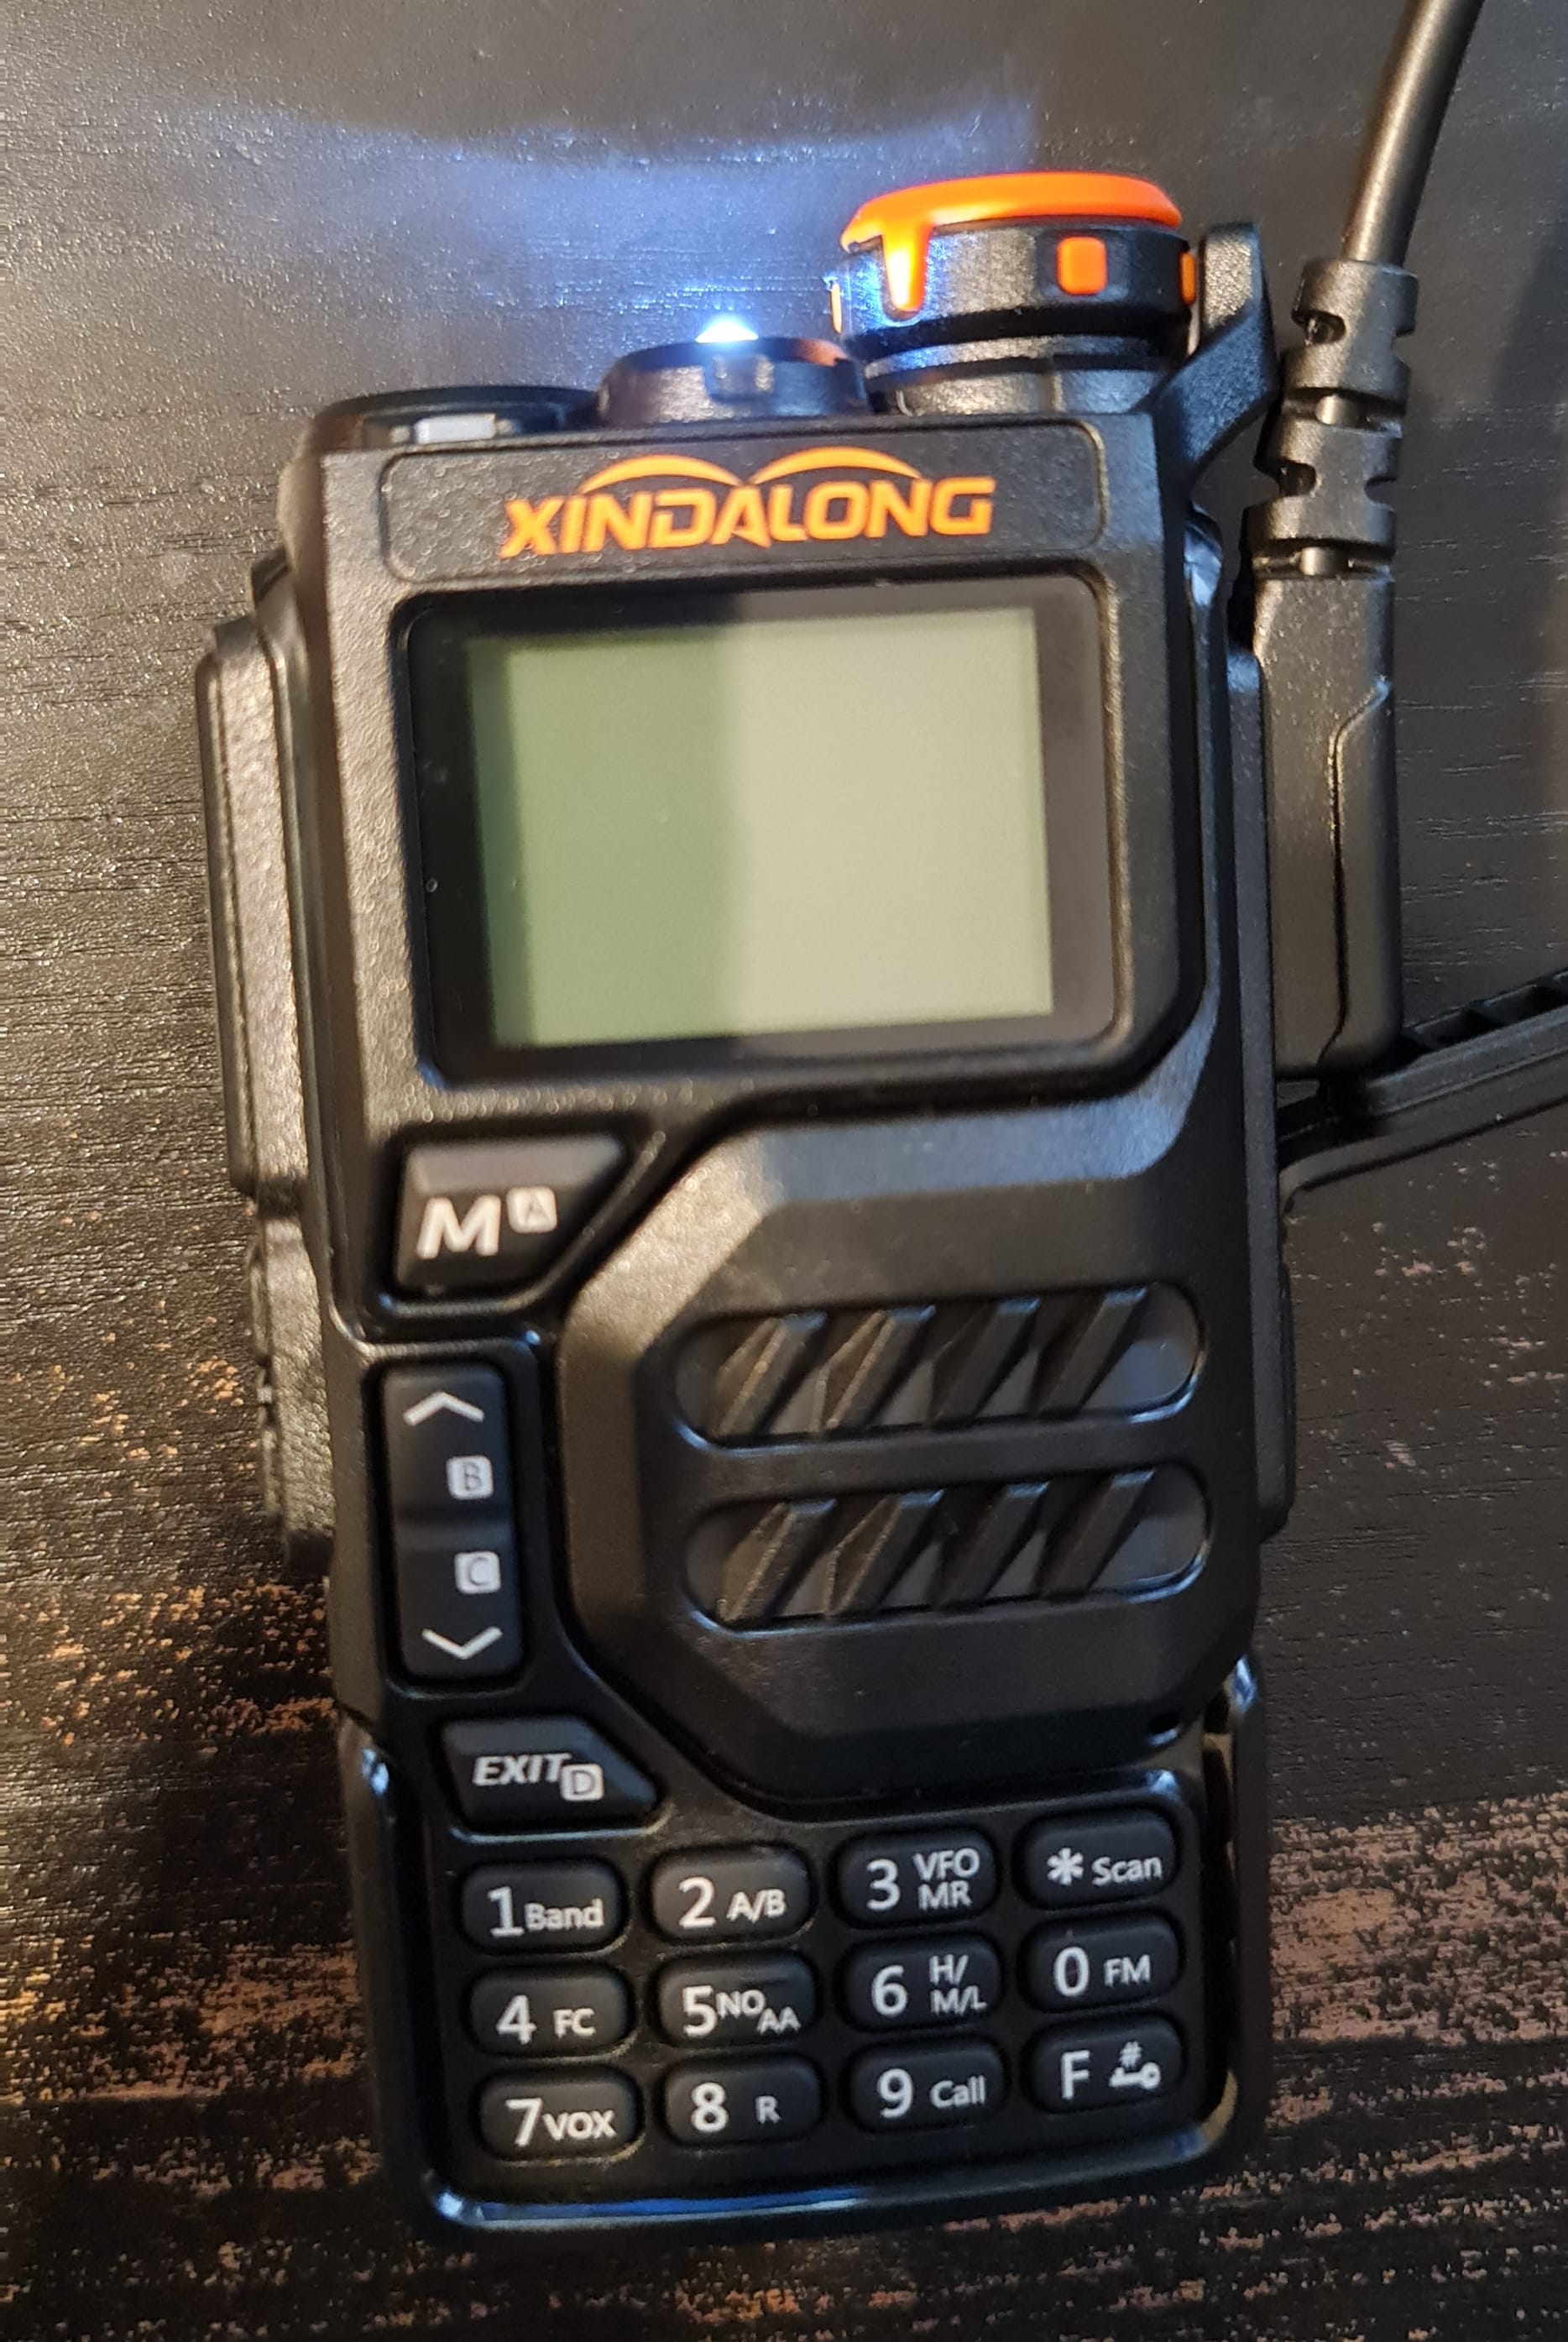
Winning the CTF left me with a bunch of prizes, including this UV-K5 radio. I was told it was very hackable and could even be used to listen to airplane frequencies! Later I was informed by an aviation friend of mine that while listening is fine, transmitting on those frequencies is rather illegal. I suddenly became very conscious of how close we were to Las Vegas' airport after learning this litigative fact.

Having absolutely no experience in radio and lots of other toys the play with, the UV-K5 was carefully put away and forgotten about for many months. The radio stayed in storage until last week when I decided to take a closer look at what I'd gotten my hands on.
Why is the UV-K5 so interesting?
After doing a bit of a deep dive, I learned how neat this device actually is. The UV-K5 is a multiband transceiver that is a unique blend of cheap, powerful, and most importantly, hackable. Based on the Beken RF BK4819 chip, it can operate at a frequency range of 18-660 MHz and 840-1300 MHz. The stock firmware (slightly) restricts access to many of these frequencies but we can easily change that with a custom build :D
Turns out the device has a history, including questionable conformity documents, susceptible security issues, and a very detailed tear down by the community. All of this leaves us with a relatively cheap and hackable device which is a fantastic introduction to radio.
What can you do with custom firmware?
While the stock firmware is fairly feature rich on the UV-K5, there a lot more options available with custom firmware.
Some of the many mods available include:
- Better battery life
- AM quality fix
- Fast scanning
- An RSSI s-meter
- SSB demodulation
- Full 18MHz to 1300MHz receive
- and many more!
How to flash it
In order to flash your UV-K5, you need the following:
- UV-K5 handset
- A Baefong USB to K port adapter (or equivalent serial TTL)
- A web serial compatible browser (such as Chromium, or Firefox with addons)
- A computer (or something that can run the browser)
Step 1 - Firmware
There are many variants of custom firmware for this radio. Some of the most popular firmware out there include:
https://github.com/egzumer/uv-k5-firmware-custom?tab=readme-ov-file
https://github.com/Tunas1337/uv-k5-firmware
https://github.com/fagci/uv-k5-firmware-fagci-mod
Choosing a build will depend on your preferences, such as stability, design, and tools included.
I settled on egzumer's repo as it seems to be the most active and popular. For the purpose of this blog post I'll be using it here.
Step 2 - Hardware
Despite having a USB C port, the UV-K5 uses it's microphone and speaker ports as a serial interface. Using our Baofeng USB K port cable, we can access that serial interface to flash the radio.
Connect your USB to K port adapter to the radio and your computer. Be mindful of the orientation of the connector as it uses 2.5mm and 3.5mm jacks to plug into the radio mic + speaker ports. Your operating system should enumerate the adapter as a virtual COM port, such as COM4, or /dev/ttyUSB0.
If you're running Windows, you may need to download drivers for the K port adapter. If you're running Linux, you may need to make sure your user is a member of the dial-out group so it has proper permissions to access the COM interface.
Step 3 - Bootloader mode
The radio needs to be switched to bootloader mode to enable new firmware to be written. Start with the radio turned off and it's battery connected. Hold down the push to talk button (PTT) on the side, and turn on the radio. After a few seconds, let go of the PTT button. The display will stay blank but the radio torch will light up, indicating the radio is in bootloader mode and is ready to flash.
Step 4 - Flashing the radio
The egzumer build I'm using includes a web flasher in the releases page. Open up the web flasher in your browser. Choose either the default egzumer build, or click browse to select your own. Click the flash firmware button and a window will appear asking to select the COM interface for your radio.
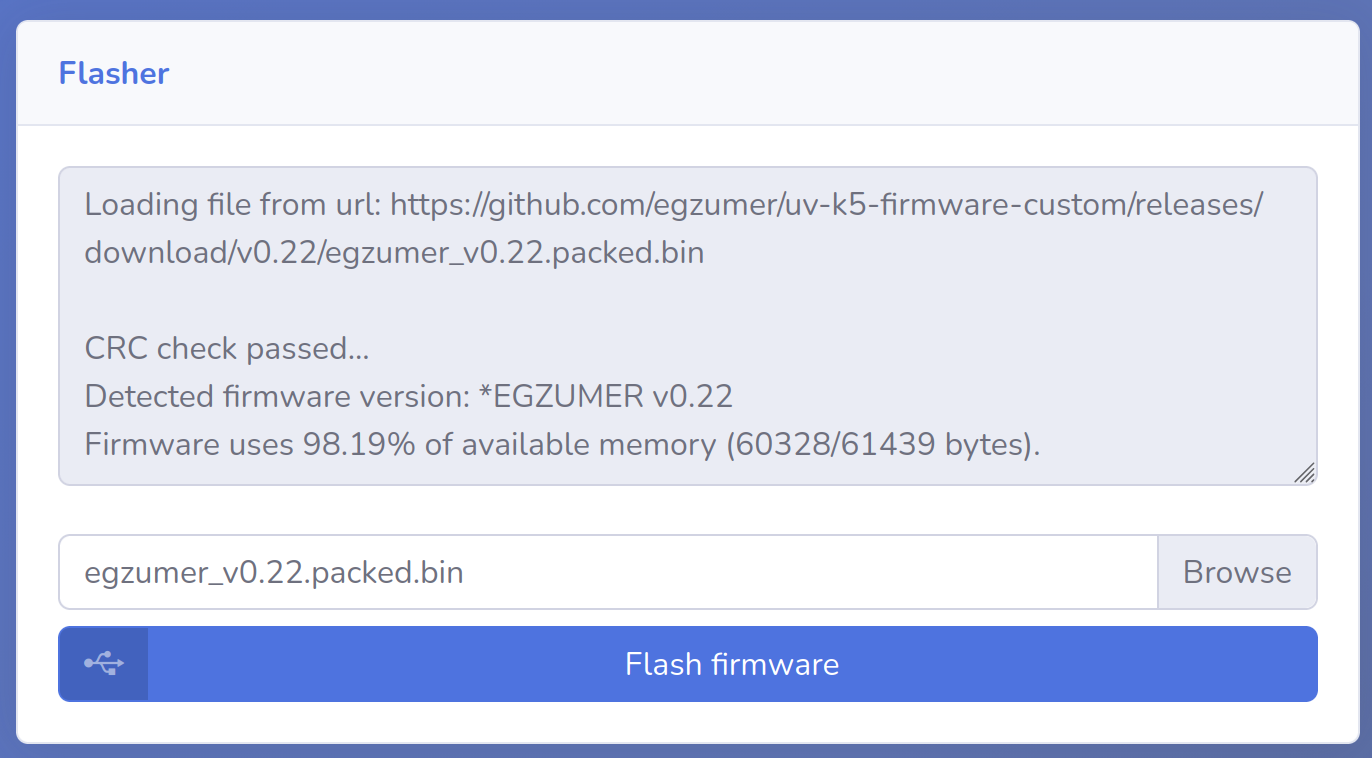
Follow the progress as the flasher tool writes the firmware to the radio. The process can take a few minutes to do it's thing. Once finished, unplug the cable and restart the radio by turning it off and on again. The new firmware should boot up and welcome you with a customer start screen.
You've now unlocked a range of new tools and features for your radio!